Small Glass Beverage Lighting
September 11, 2018Food Photography
I posted a series of small glass photos on Instagram recently along with some basic lighting diagrams and wanted to collect those all in one place — which would be this article! Two of these setups used strobe lighting (flash) and one made use of continuous lights (LEDs). In all cases, there is no "natural" light in any of the photos. Working in reverse order from when they were posted on Instagram, I'll start with the Iced Matcha Caramel Latte photo.
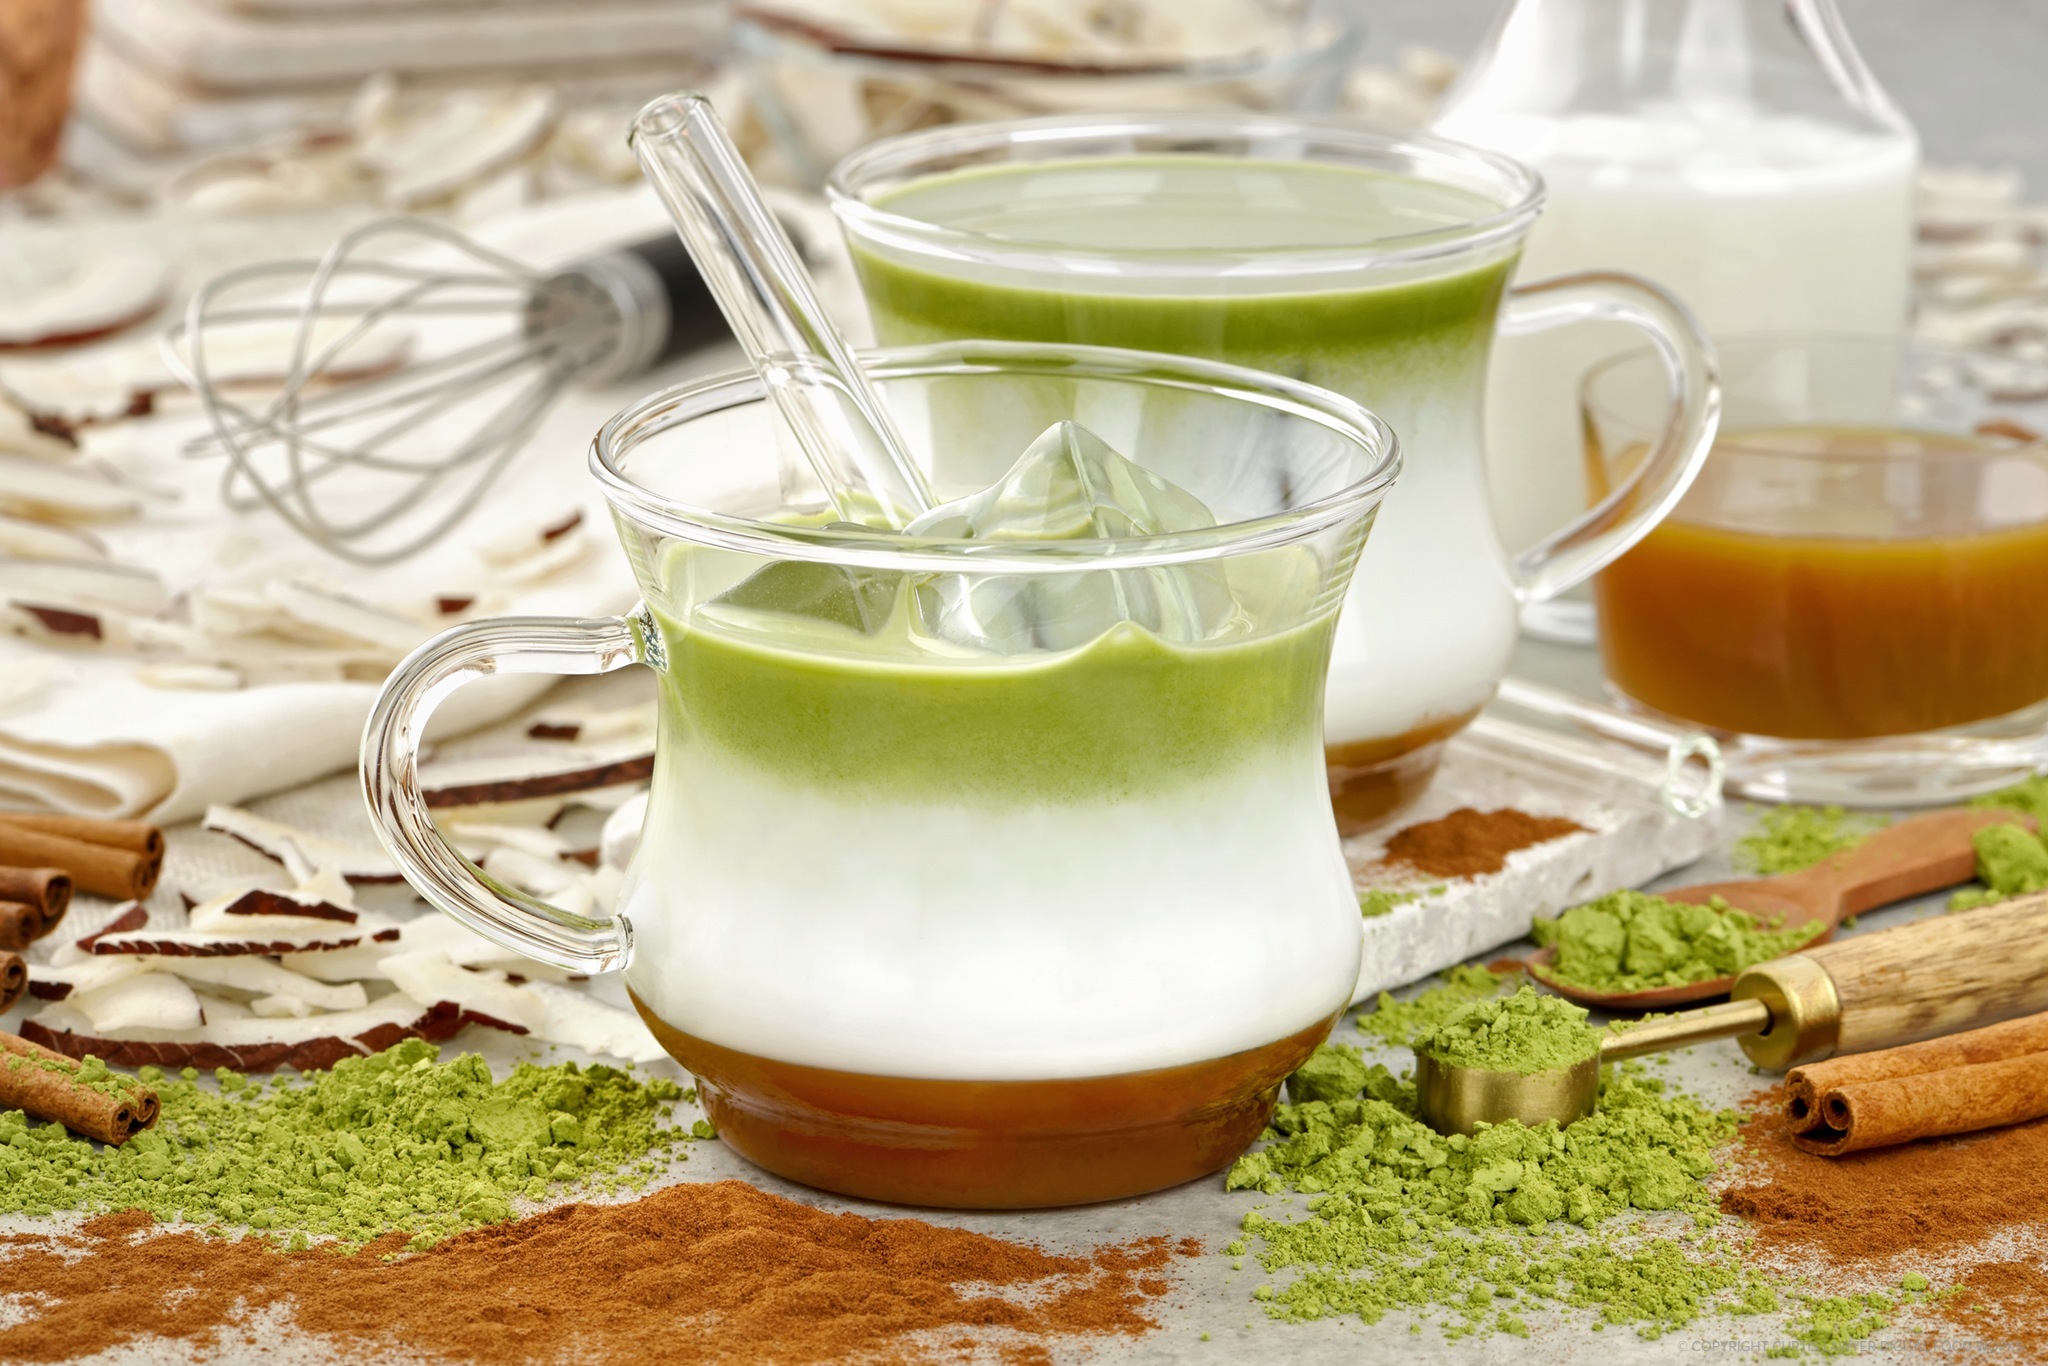
The components of what goes into an Iced Matcha Caramel Latte, are spread out around the finished beverage. In the background, there's some milk and caramel at camera right and mostly coconut bark at camera left. I've featured cinnamon and matcha powder in the foreground.
Natural light, is a hard thing to rely on (especially at 3am), so the goal on all three of these setups was to simulate natural light. Like some product photos, the subject (beverage glass) has vertical interest, so I tend to shoot them at a lower angle than a typical plate of food.
The lighting set up for the Matcha Latte photo is a pretty straight forward "summer day" setup. I consider my main light to be the one behind and to the left of the glasses (see the diagram below). There's technically two fill lights here, a strip box to the left and a large soft box to the right (which was outputting the least amount of light). There really was no practical reason to add a back light or "rim" light in this shot. With the glass in front sitting slightly lower than the glass behind, it would be a little difficult, (not to mention a little odd looking), to outline the edge of the glass cup with a back light.
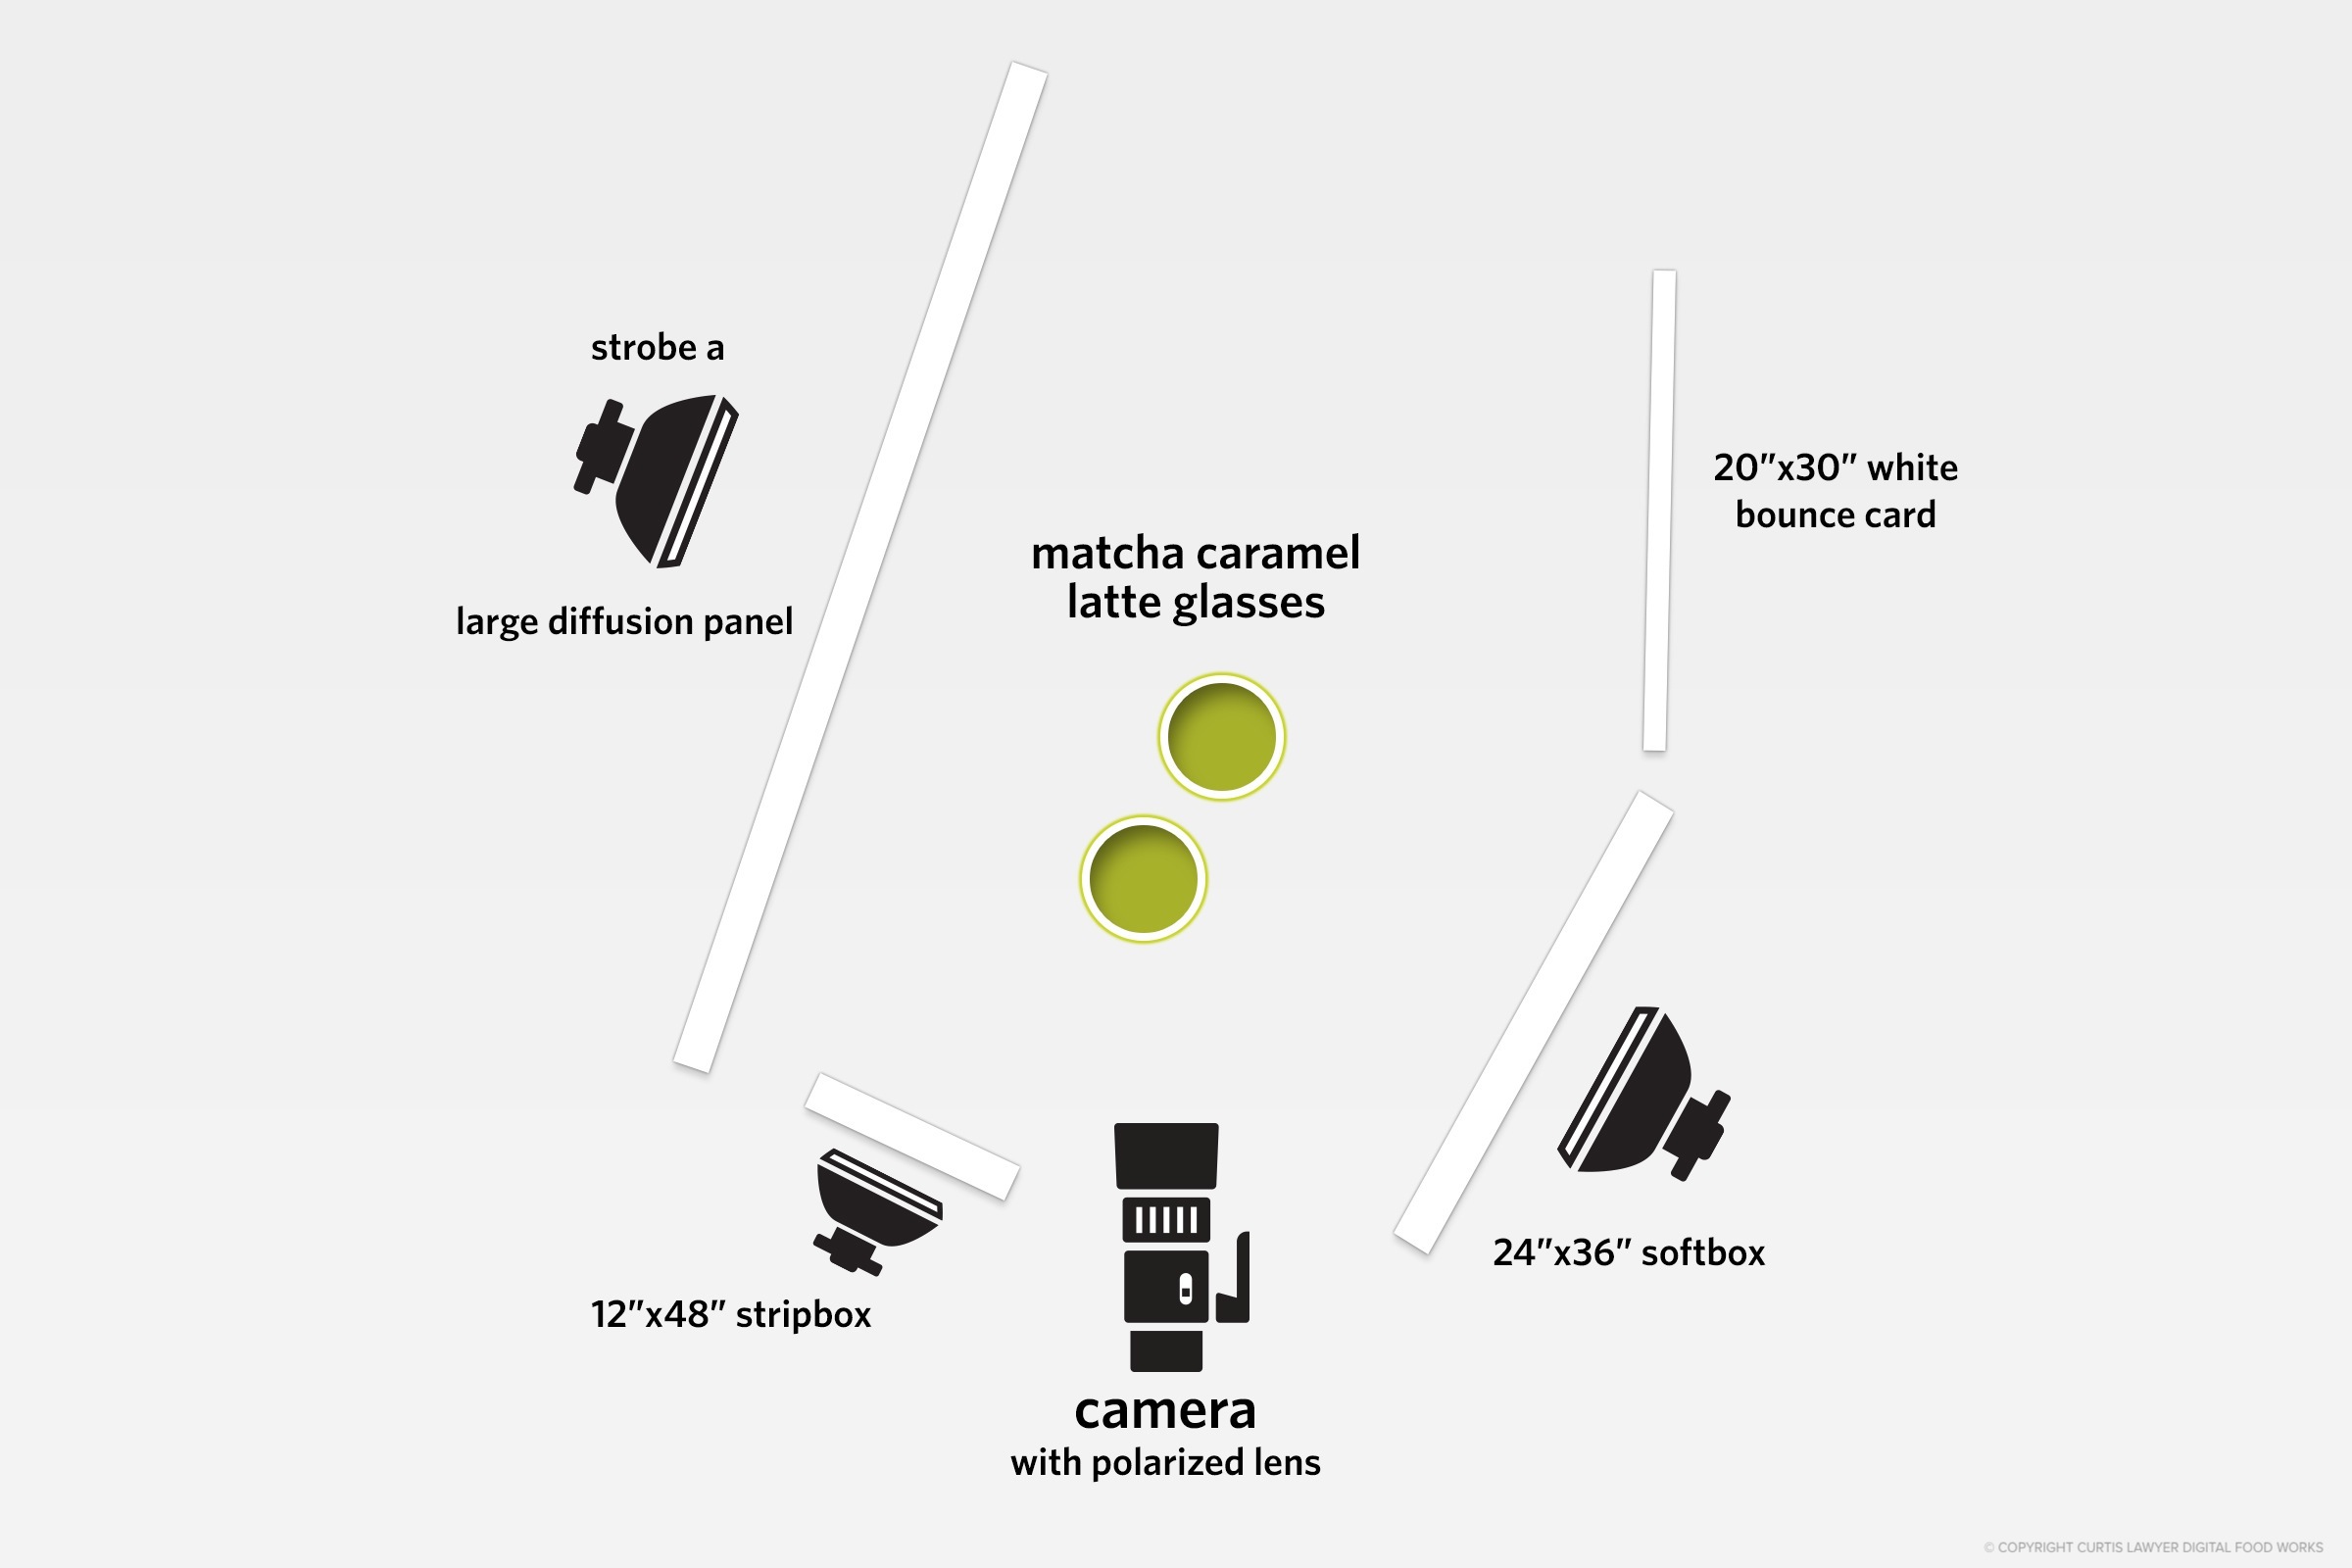
The overhead lighting diagram for the Iced Matcha Caramel Latte photo. This setup uses strobe lighting, no "natural" light is visible in the photo.
There was a polarizing filter on the lens to control some of the reflections in the glass. None of the lights were polarized. The bounce card in the back helped provide some light in the background of the photo. The coconut shavings back there were around 20 inches behind the main subject.
The takeaway for me (on all three of these setups) was just how useful and easy the strip box is to use as a fill light. Originally, two of these strip boxes were to be used as "bottle outliners" (more on that in another article, I'm sure). I didn't really think they (or one anyway) would be all that useful for these softer lighting sets. As it turns out, being able to rotate and control the angle of the strip box is a really quick way of controlling the light fall-off.
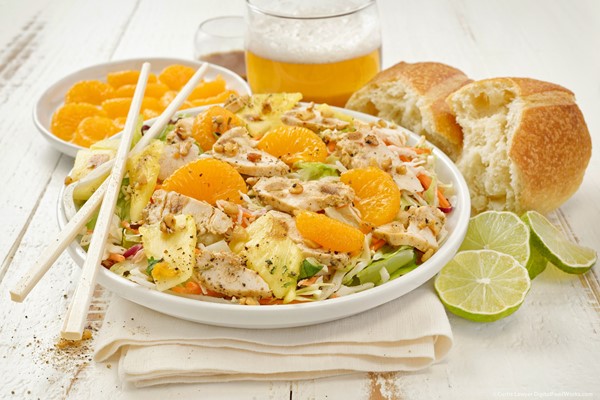
Next up is the Mango Pineapple Smoothie photo. This first photo (and the one I used on Instagram) was photographed using LEDs. I really like that you can see what you're doing with continuous lights, but there's a certain quality in the specular highlights that seems to get lost, when comparing similar photos shot using strobes.
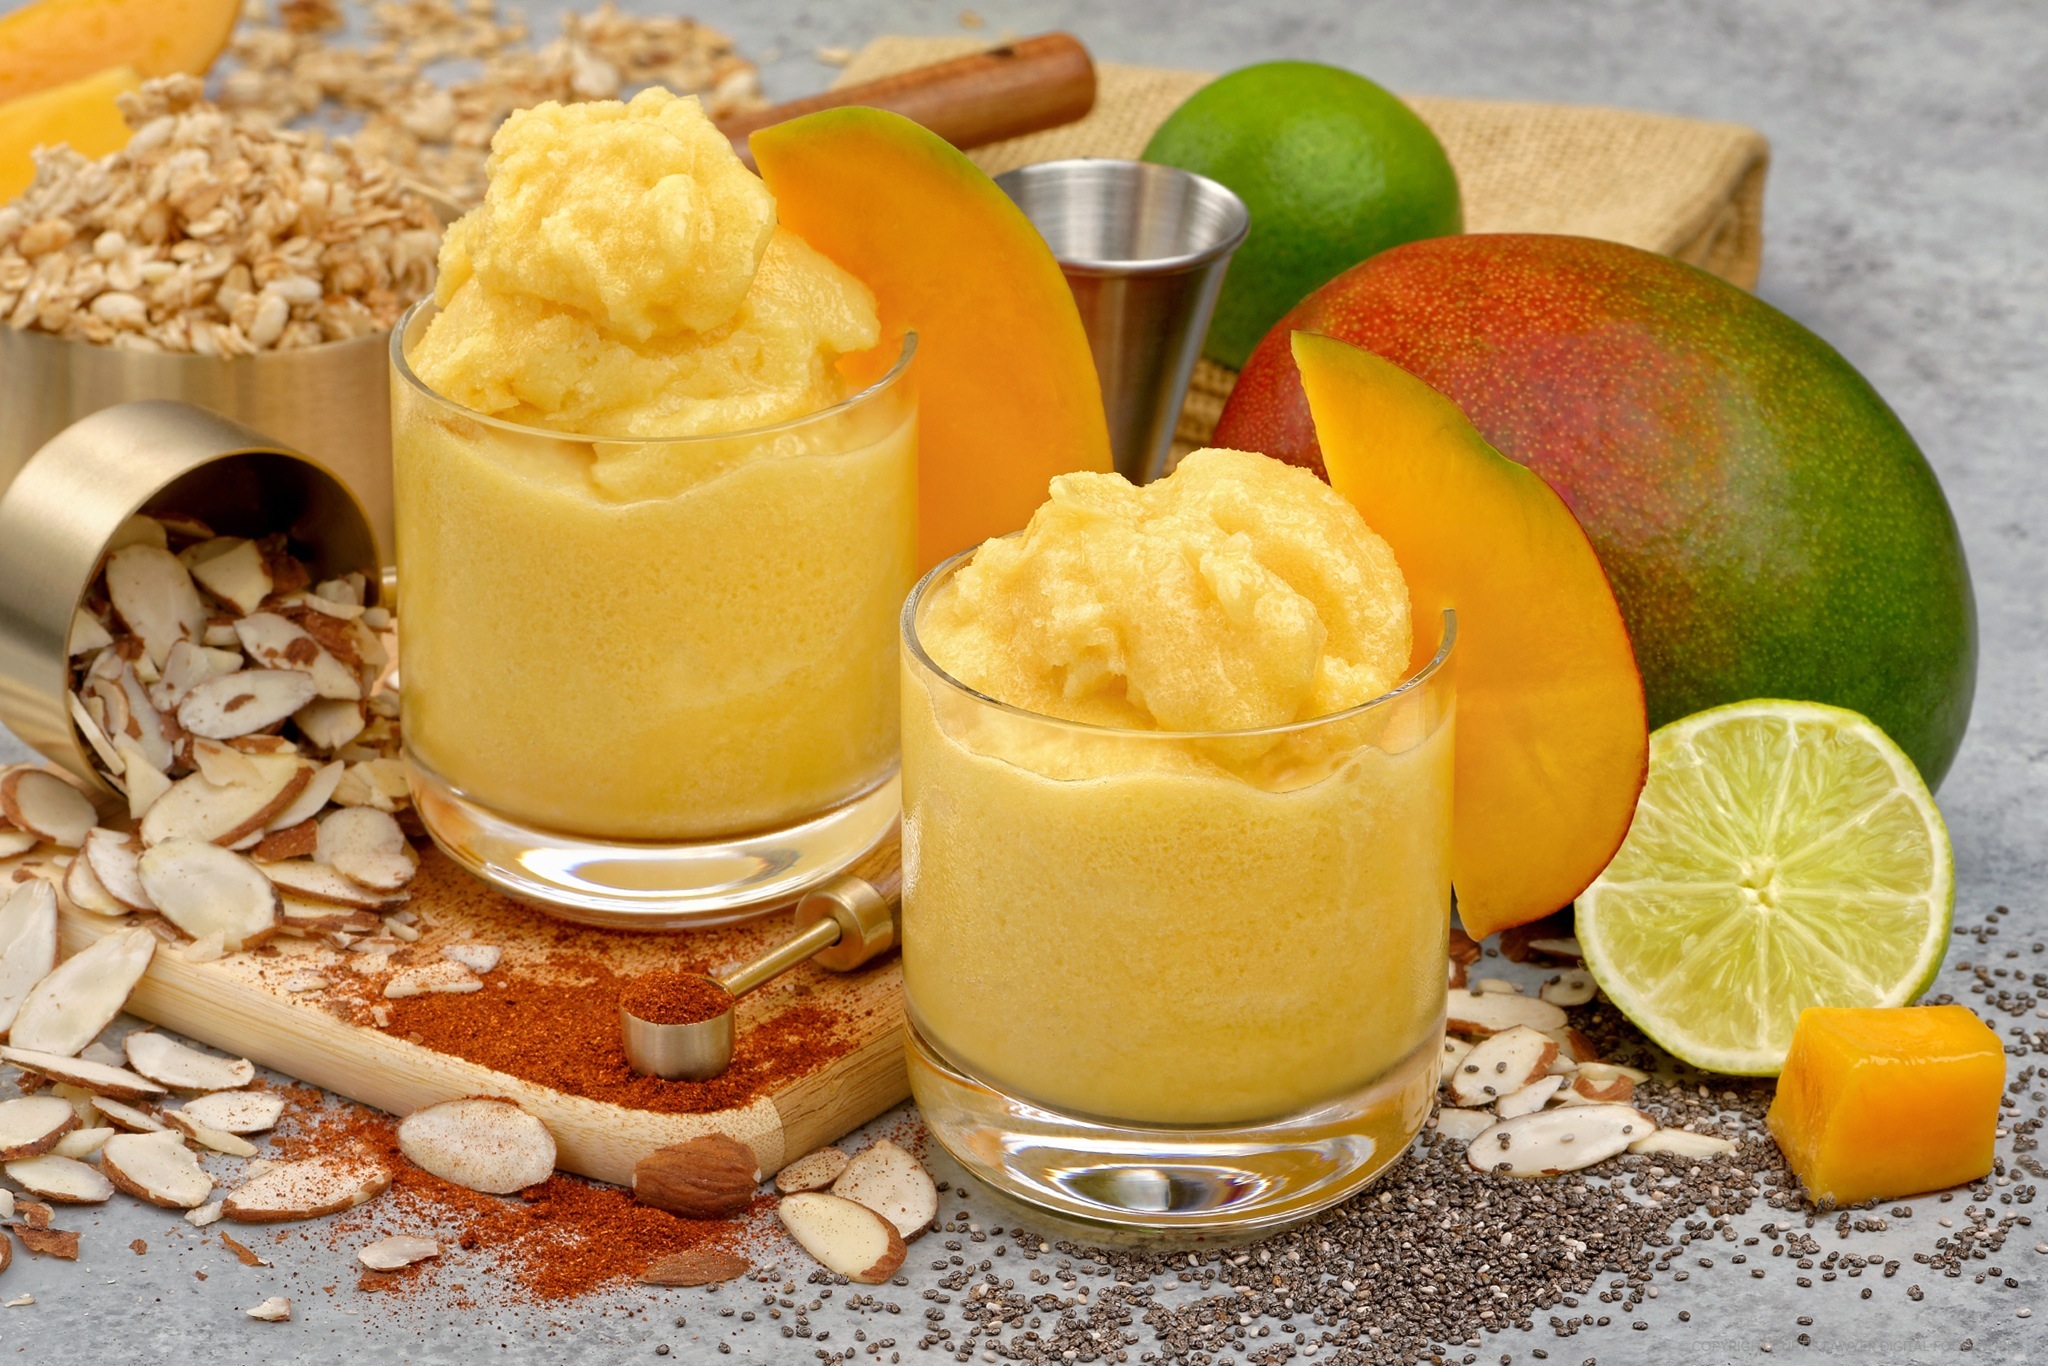
These Mango Pineapple Smoothies were photographed using an LED continuous light setup.
The setup here was somewhat similar. The "main light" (which ends up being the whole surface of a very large diffusion panel), is actually two 60w LEDs and the whole panel had to be brought forward (closer to the camera position) than I would do with strobes. A fill light is on the exact opposite side of the glasses, almost parallel to the main light, and finally another 32" panel is used to fill in the shadows, just to the left of the camera.
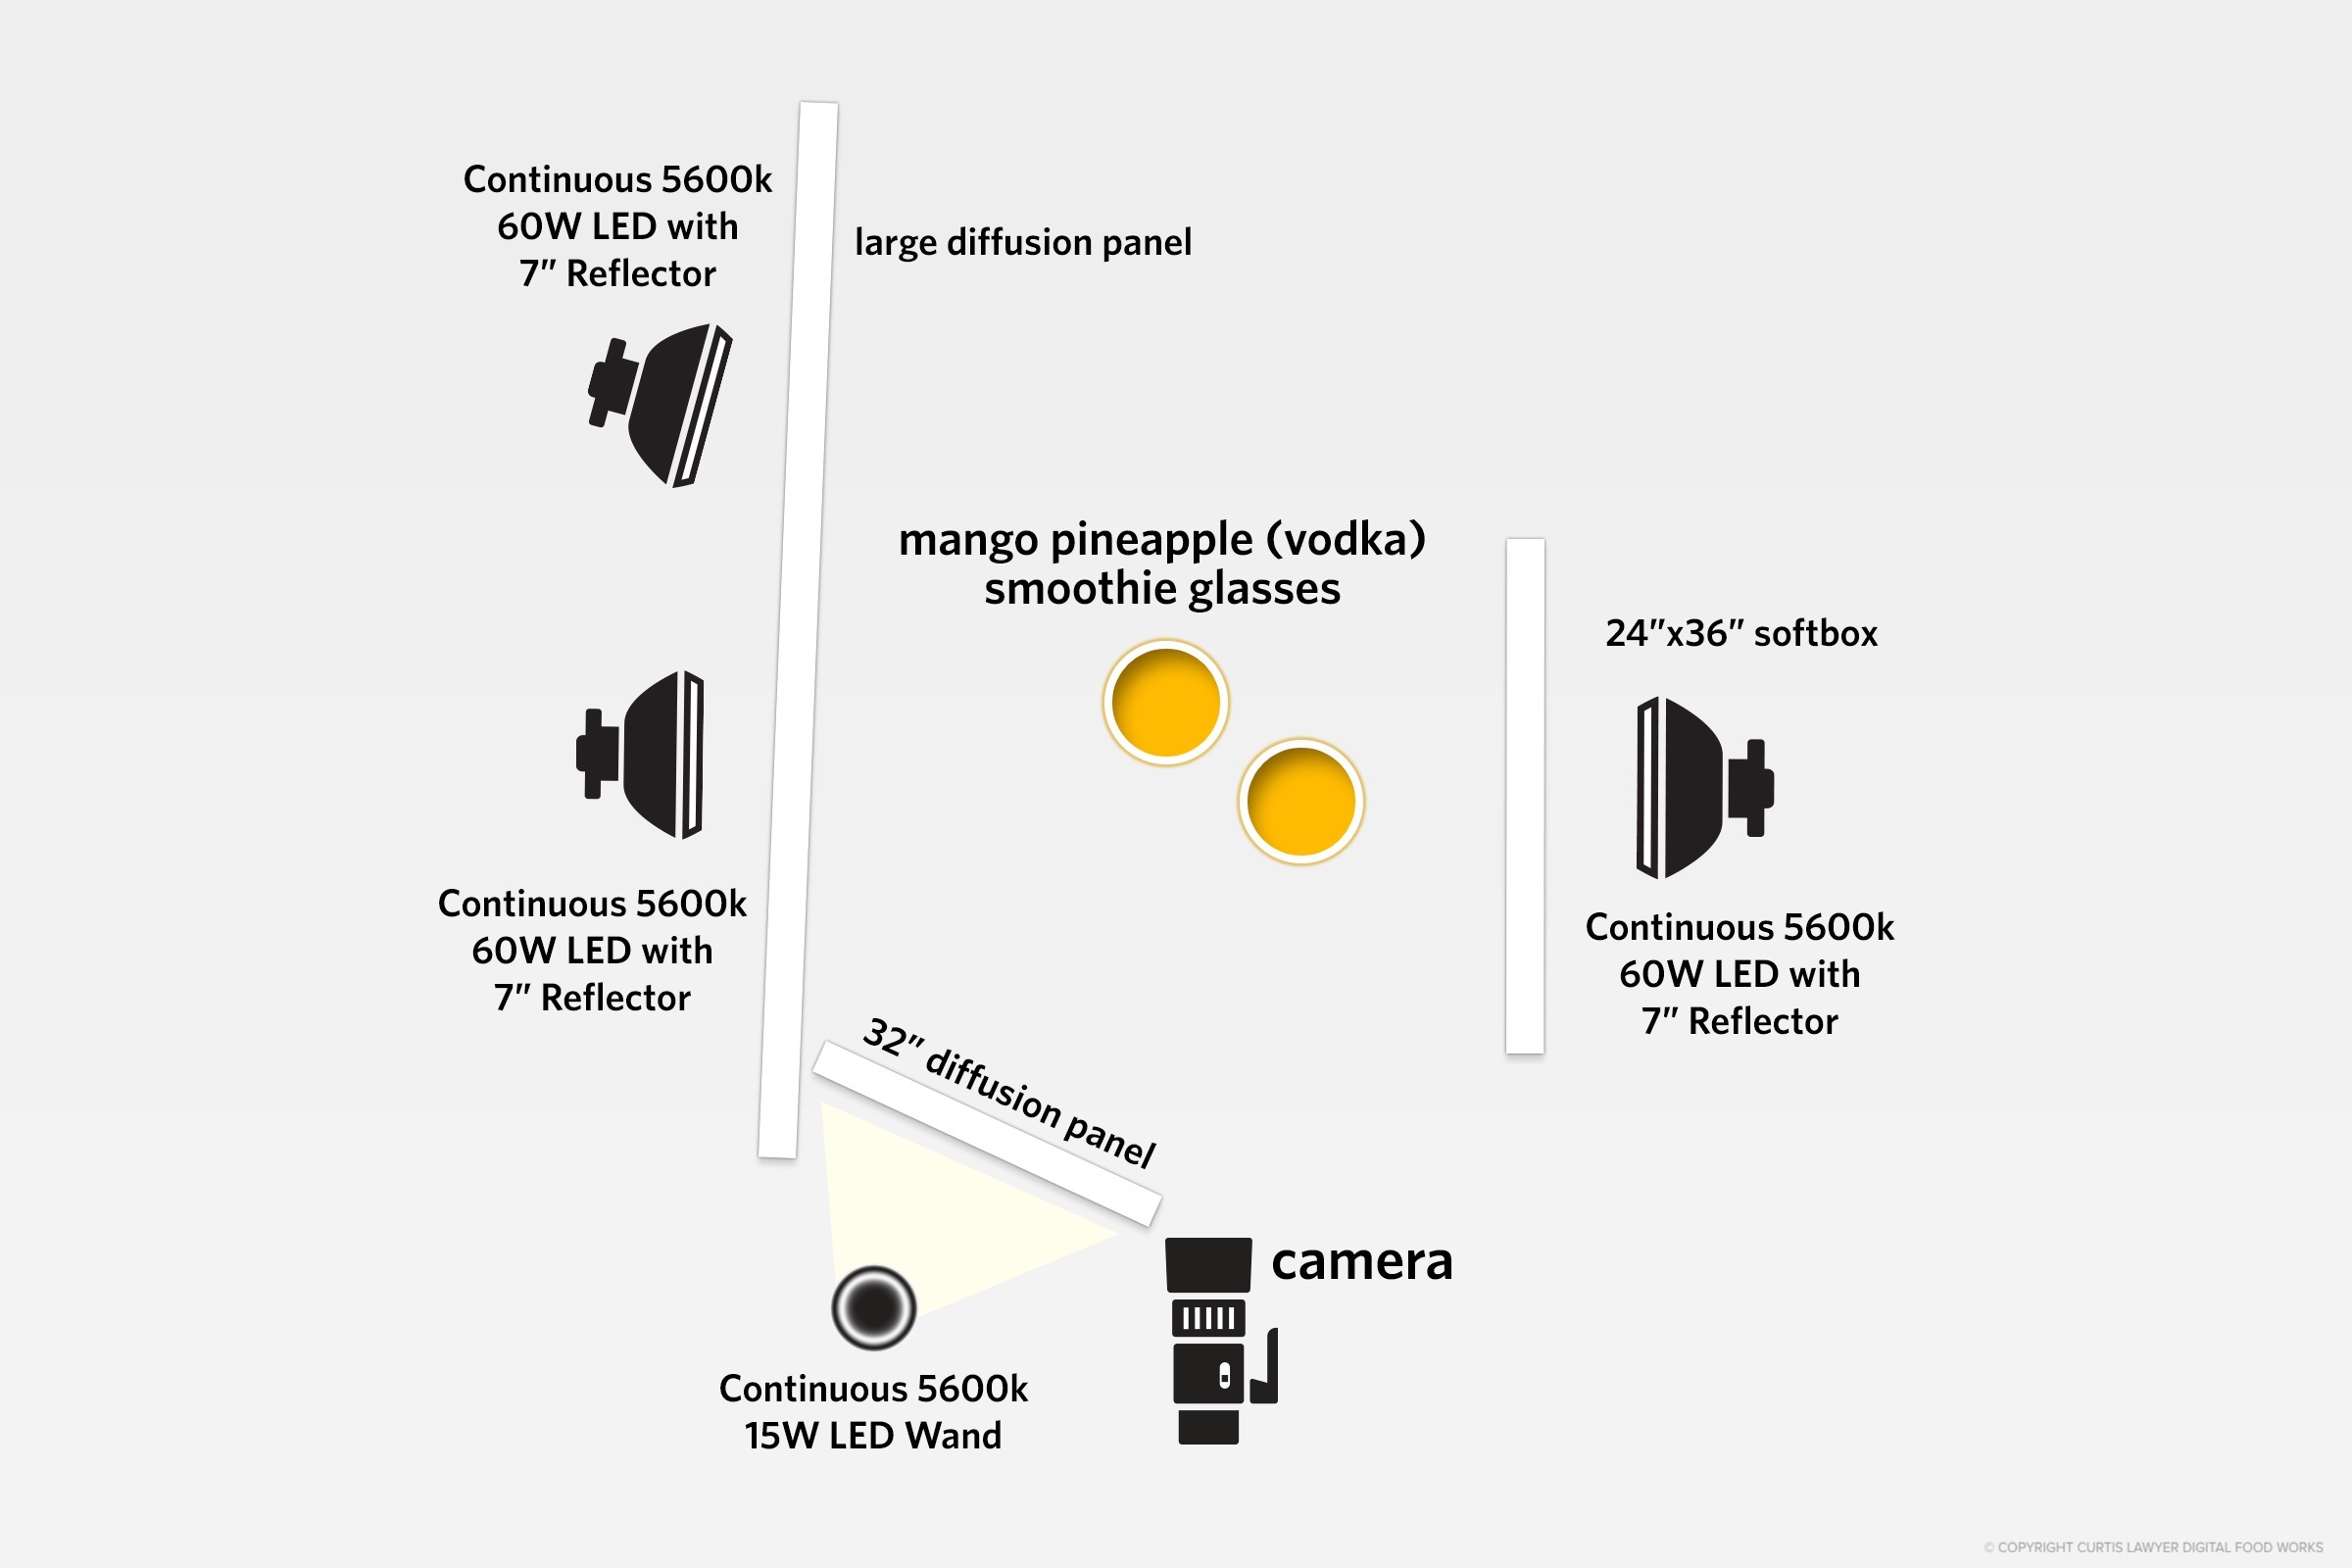
The overhead lighting diagram for the Mango Pineapple Smoothie photo.
This setup uses continuous LED lighting, no "natural" light is visible in the
photo.
Hummmm... I think something's missing in this Mango Smoothie photo.
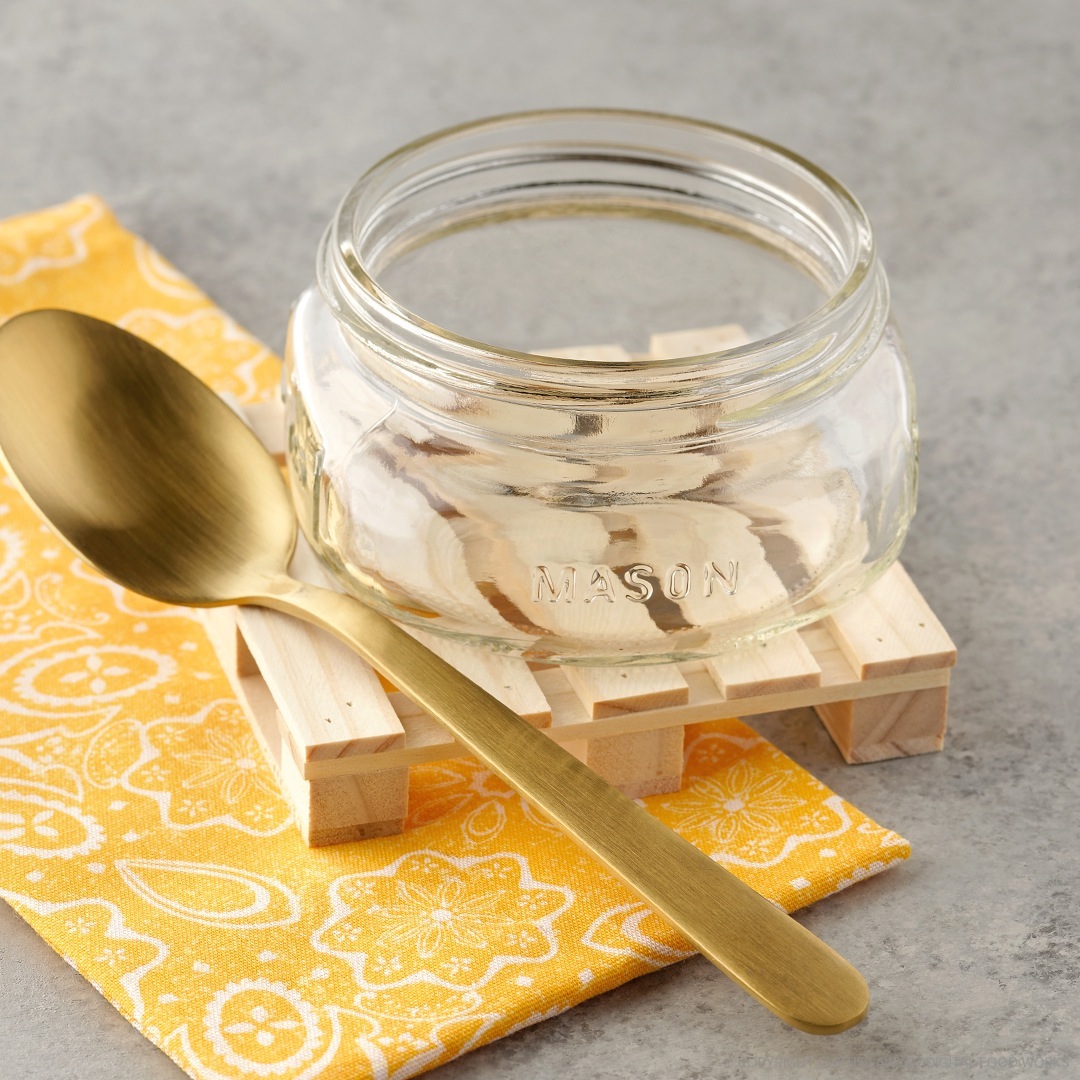
For the empty mason jar photo and the second smoothie photo — I switched over to to the strobes and a very similar set up as the Matcha Caramel Latte photo.
While the highlights still aren't exactly sparkling with the strobes, it is easier to see some texture in the smoothie itself. I'm sure this just all comes down to light power, falloff and distance to the subject. The LEDs produce a really great even light for overhead stuff, but my go-to lighting for food and products would be the strobes.
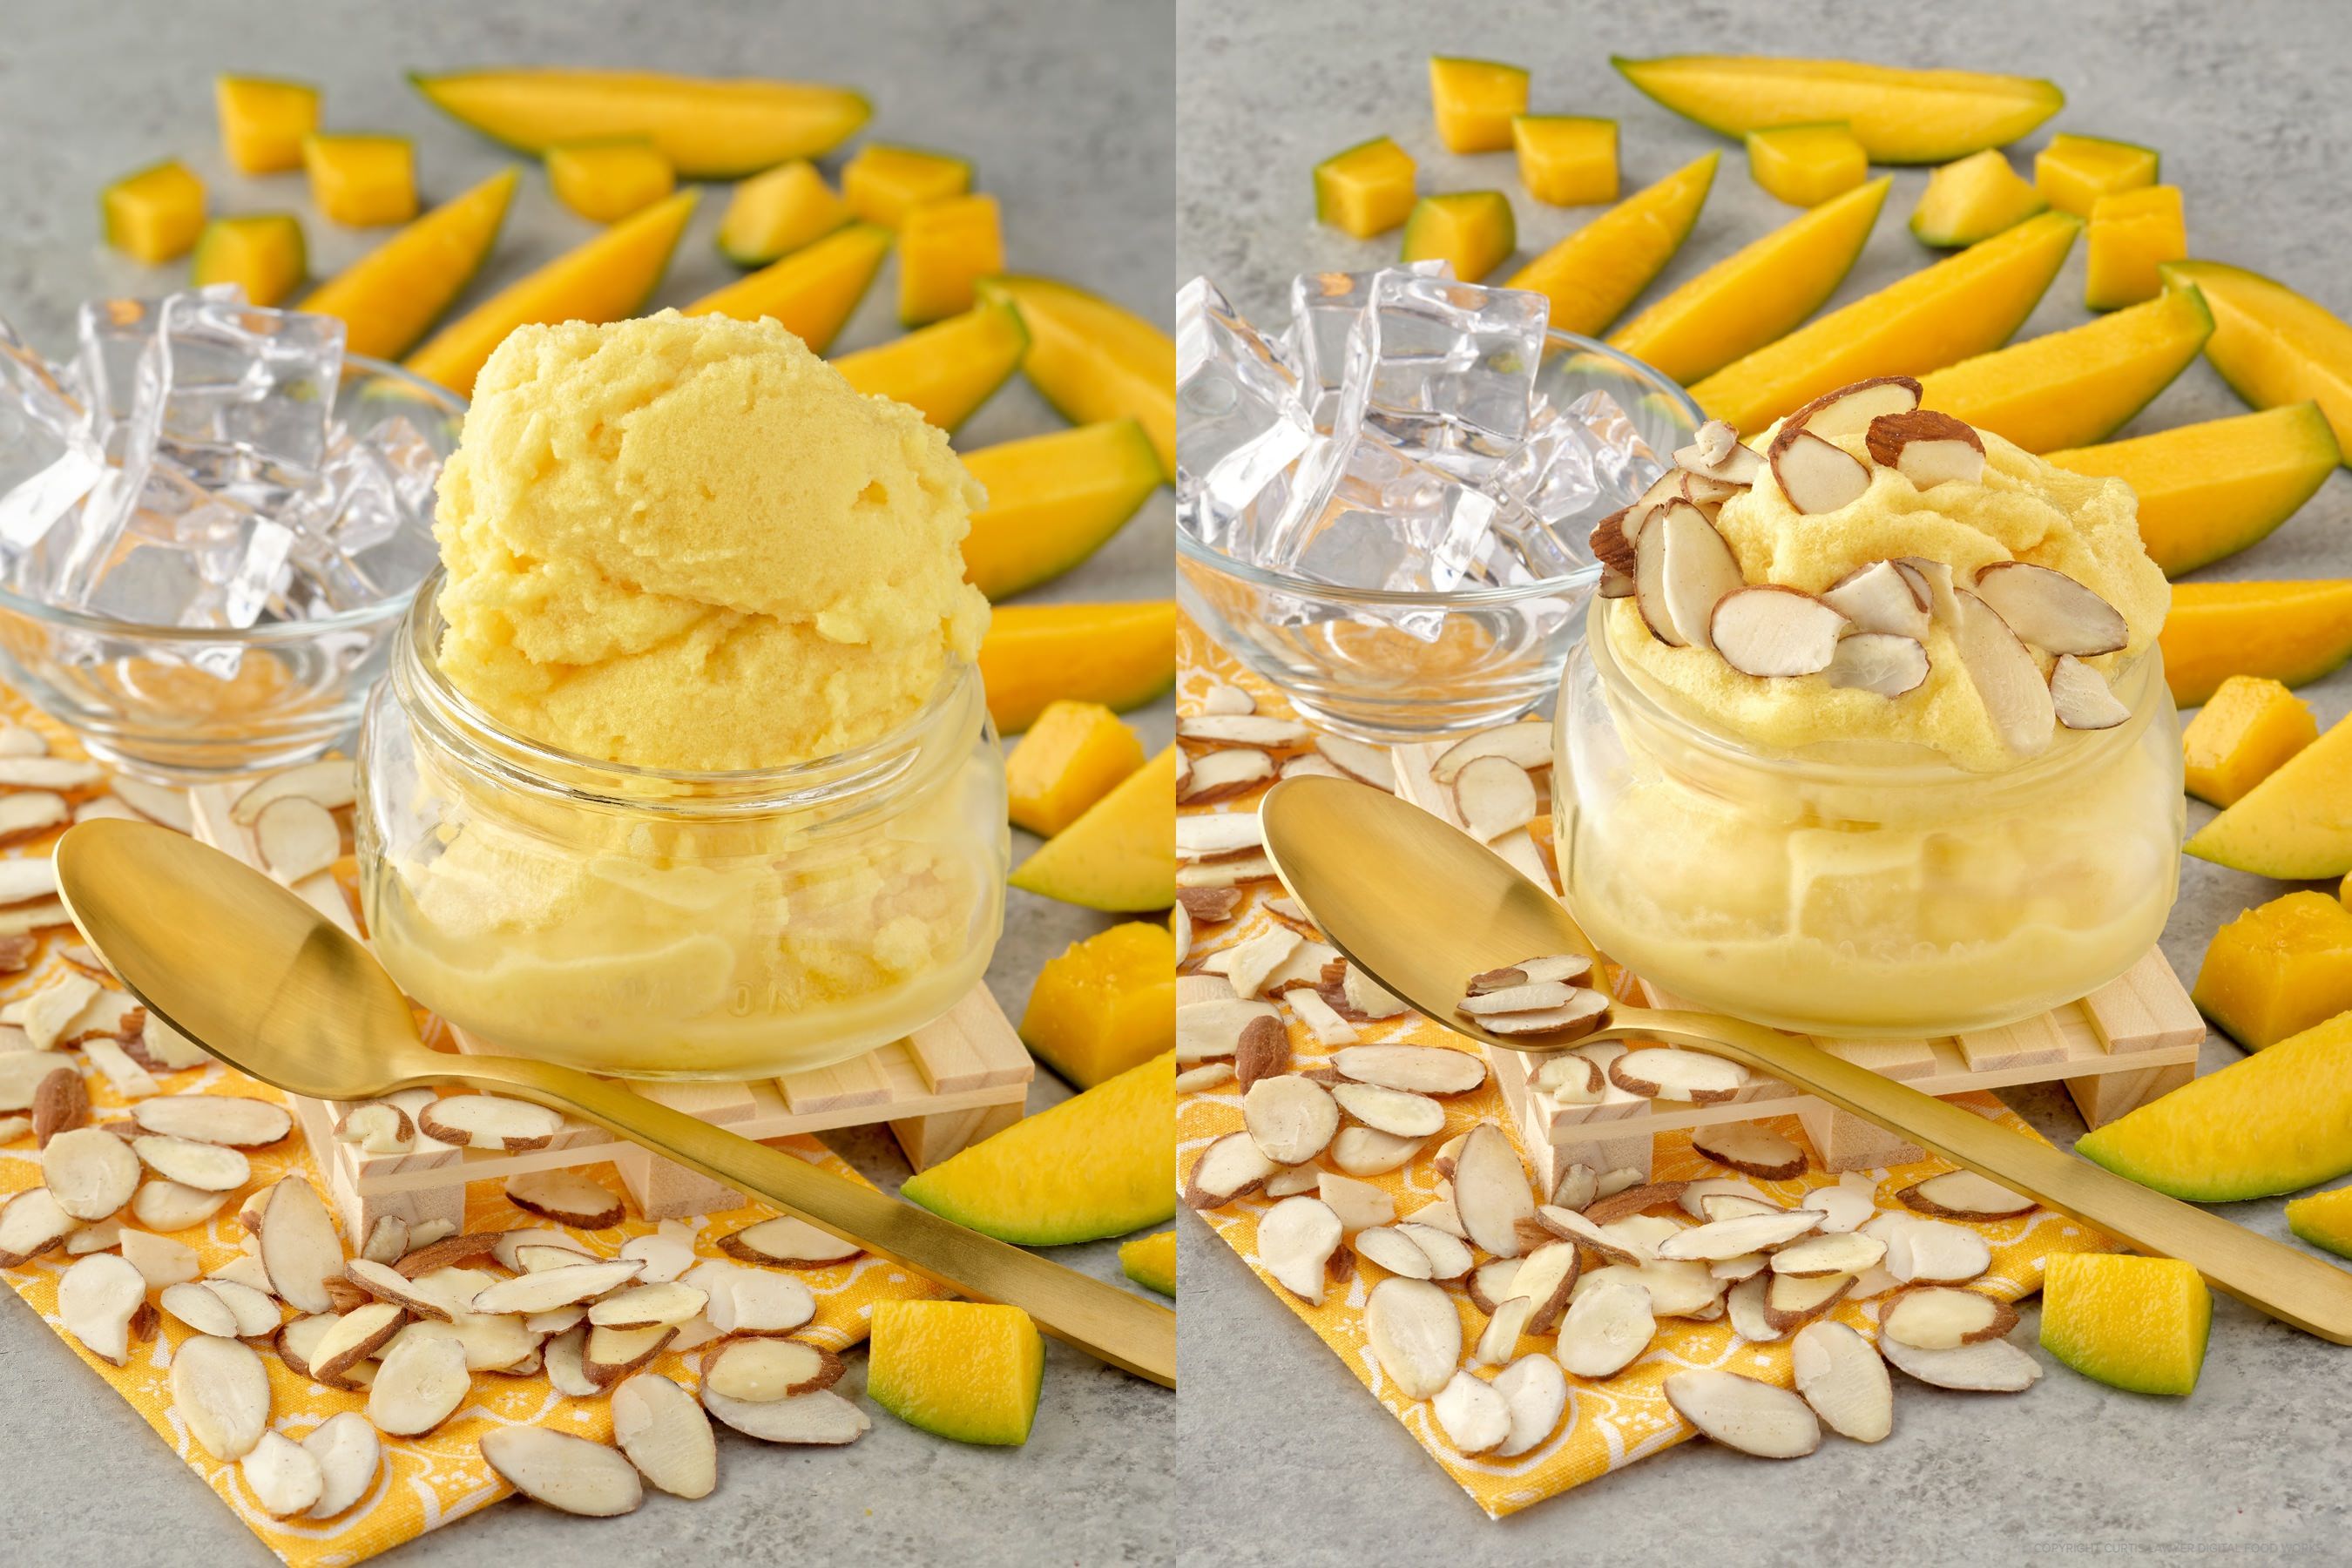
These two photos are from a second round of photos for the mango smoothies, but this time, with traditional flash/strobes instead of continuous LED's.
The Cranberry Lime Whisky Sour photo ended up being the most popular photo of the series! (And a big thank you to all of my Instagram followers!!!! You all really make doing this so much fun.) This one used the strobes, but in a much more pronounced angle than the other two photos.
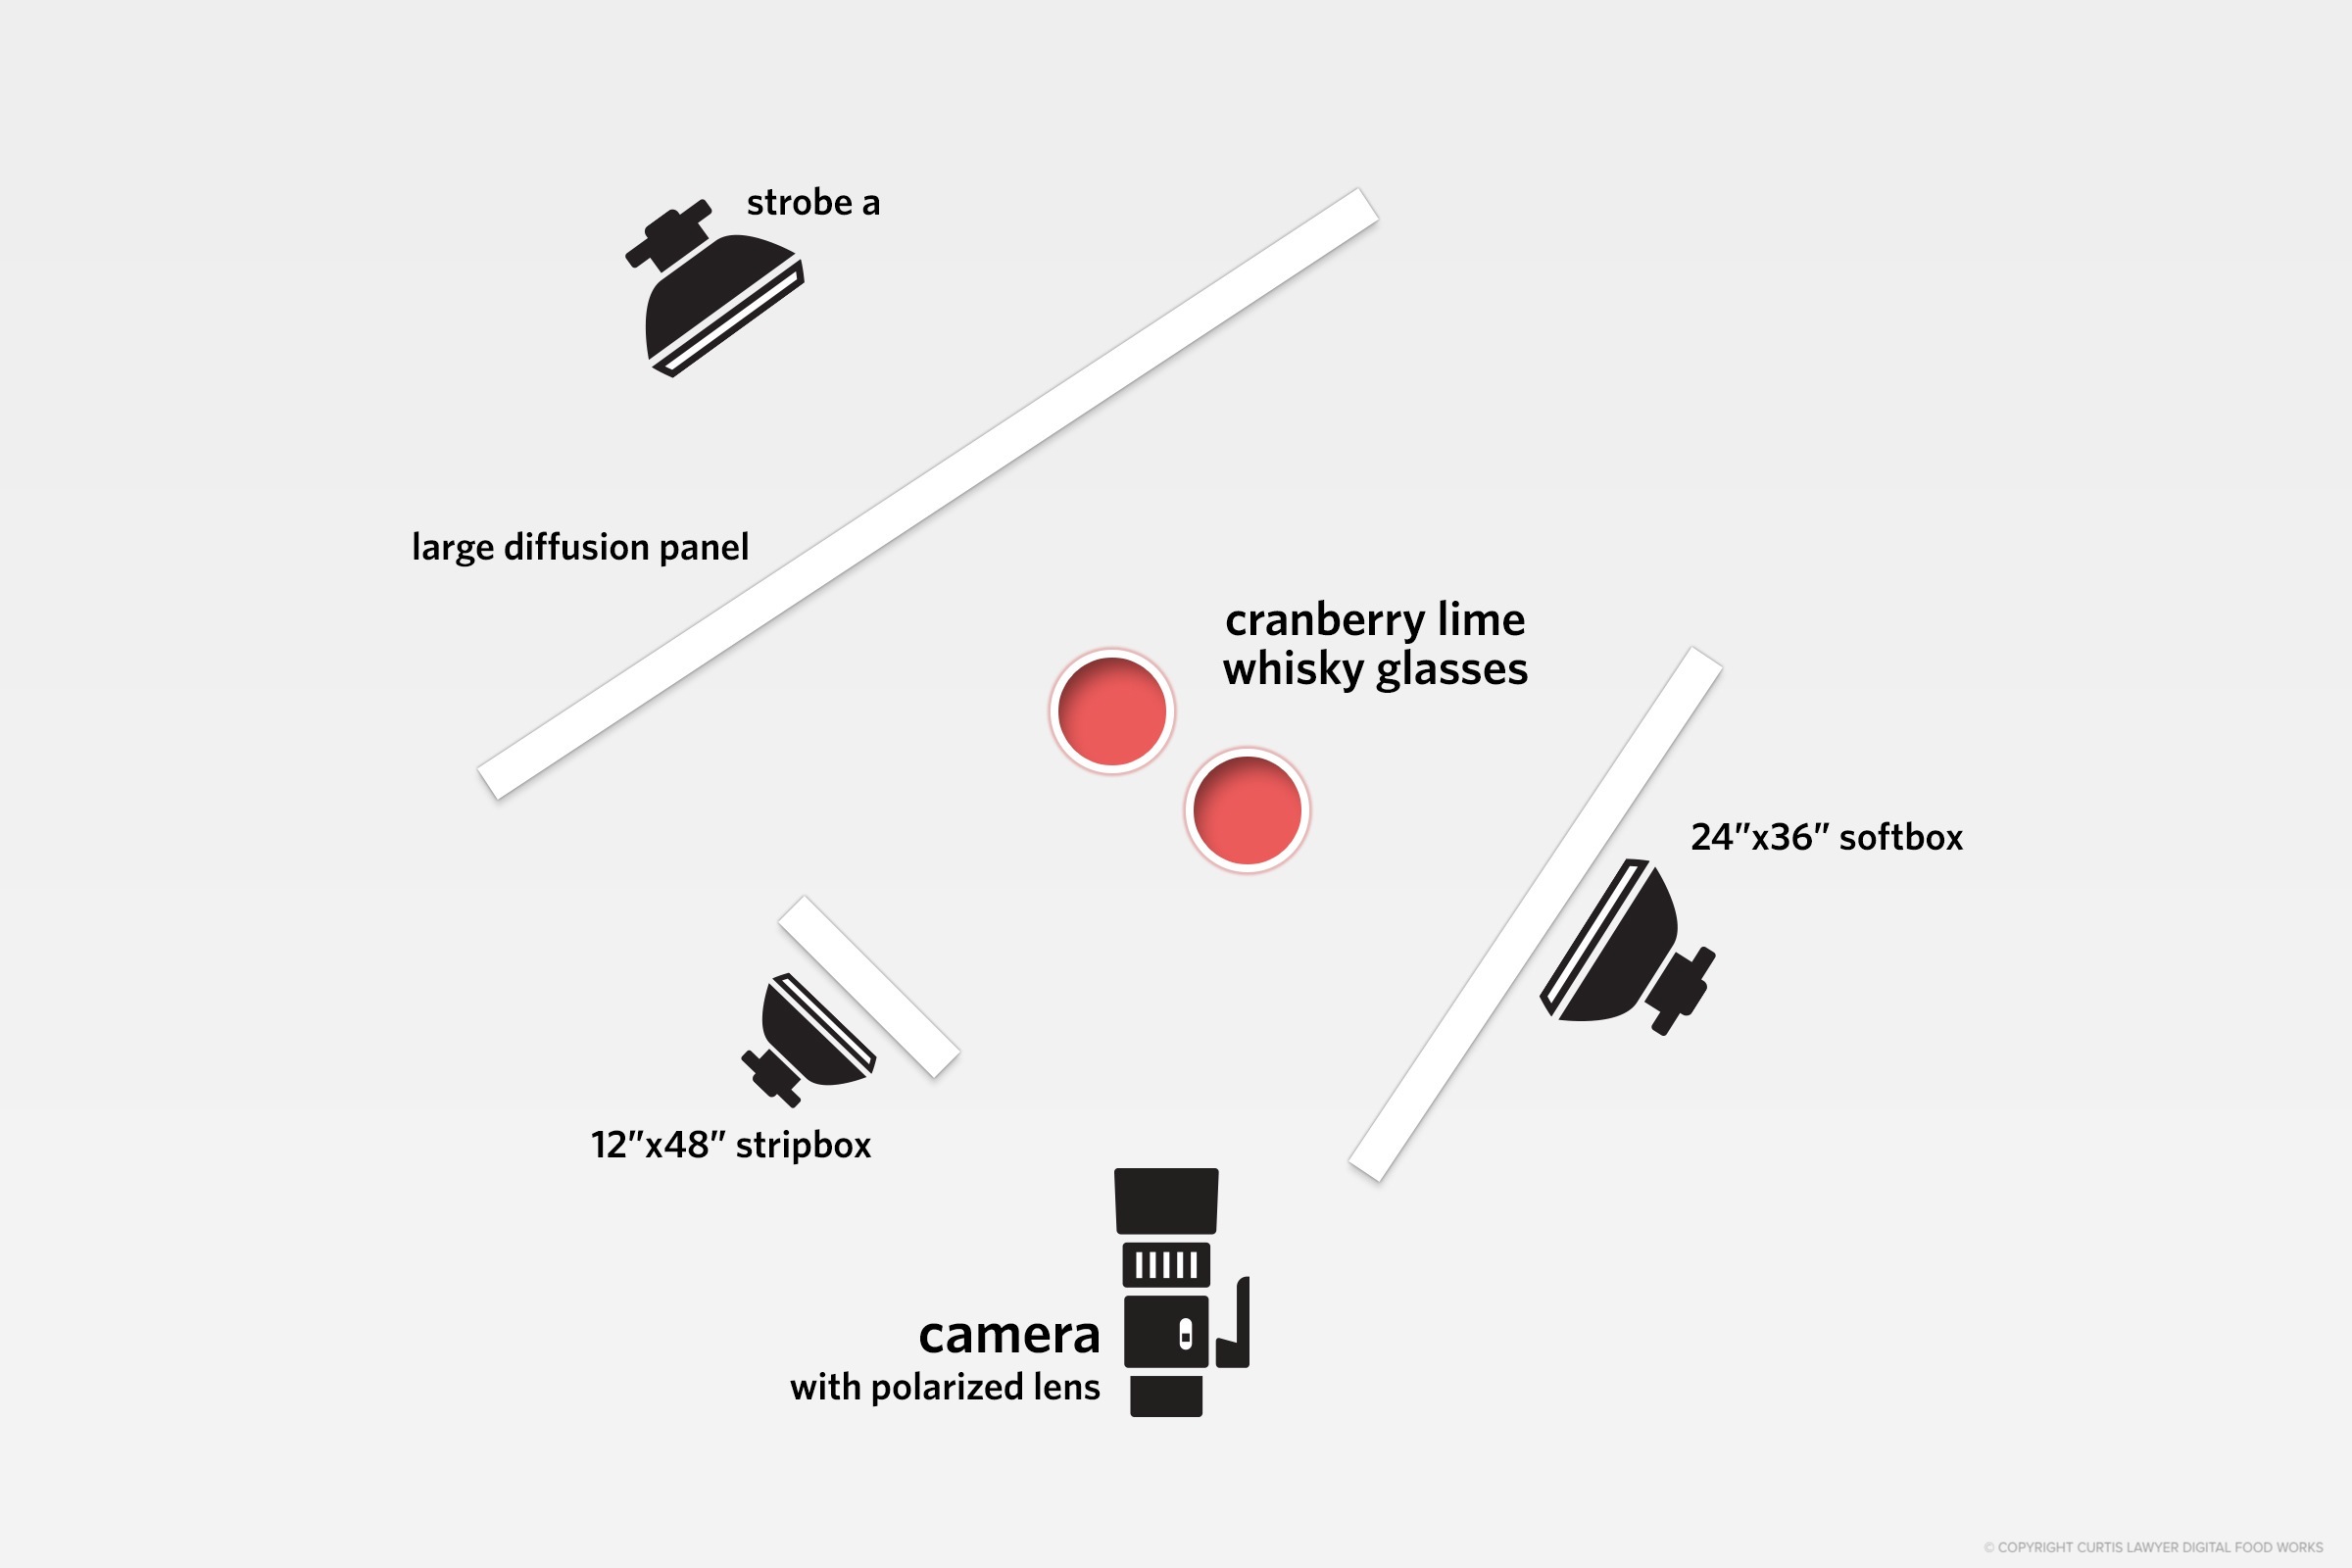
The overhead lighting diagram for the Cranberry Lime Whisky Sour photo.
This setup uses strobe lighting, no "natural" light is visible in the
photo.
The main light (camera left) is very nearly at a 45 degree angle behind the main subject, which also makes the main light a rim light as well. The fill lights are (more or less) in the same "relative" position to the main light, but in "absolute" terms (to the subject) rotated to match the main light's position.
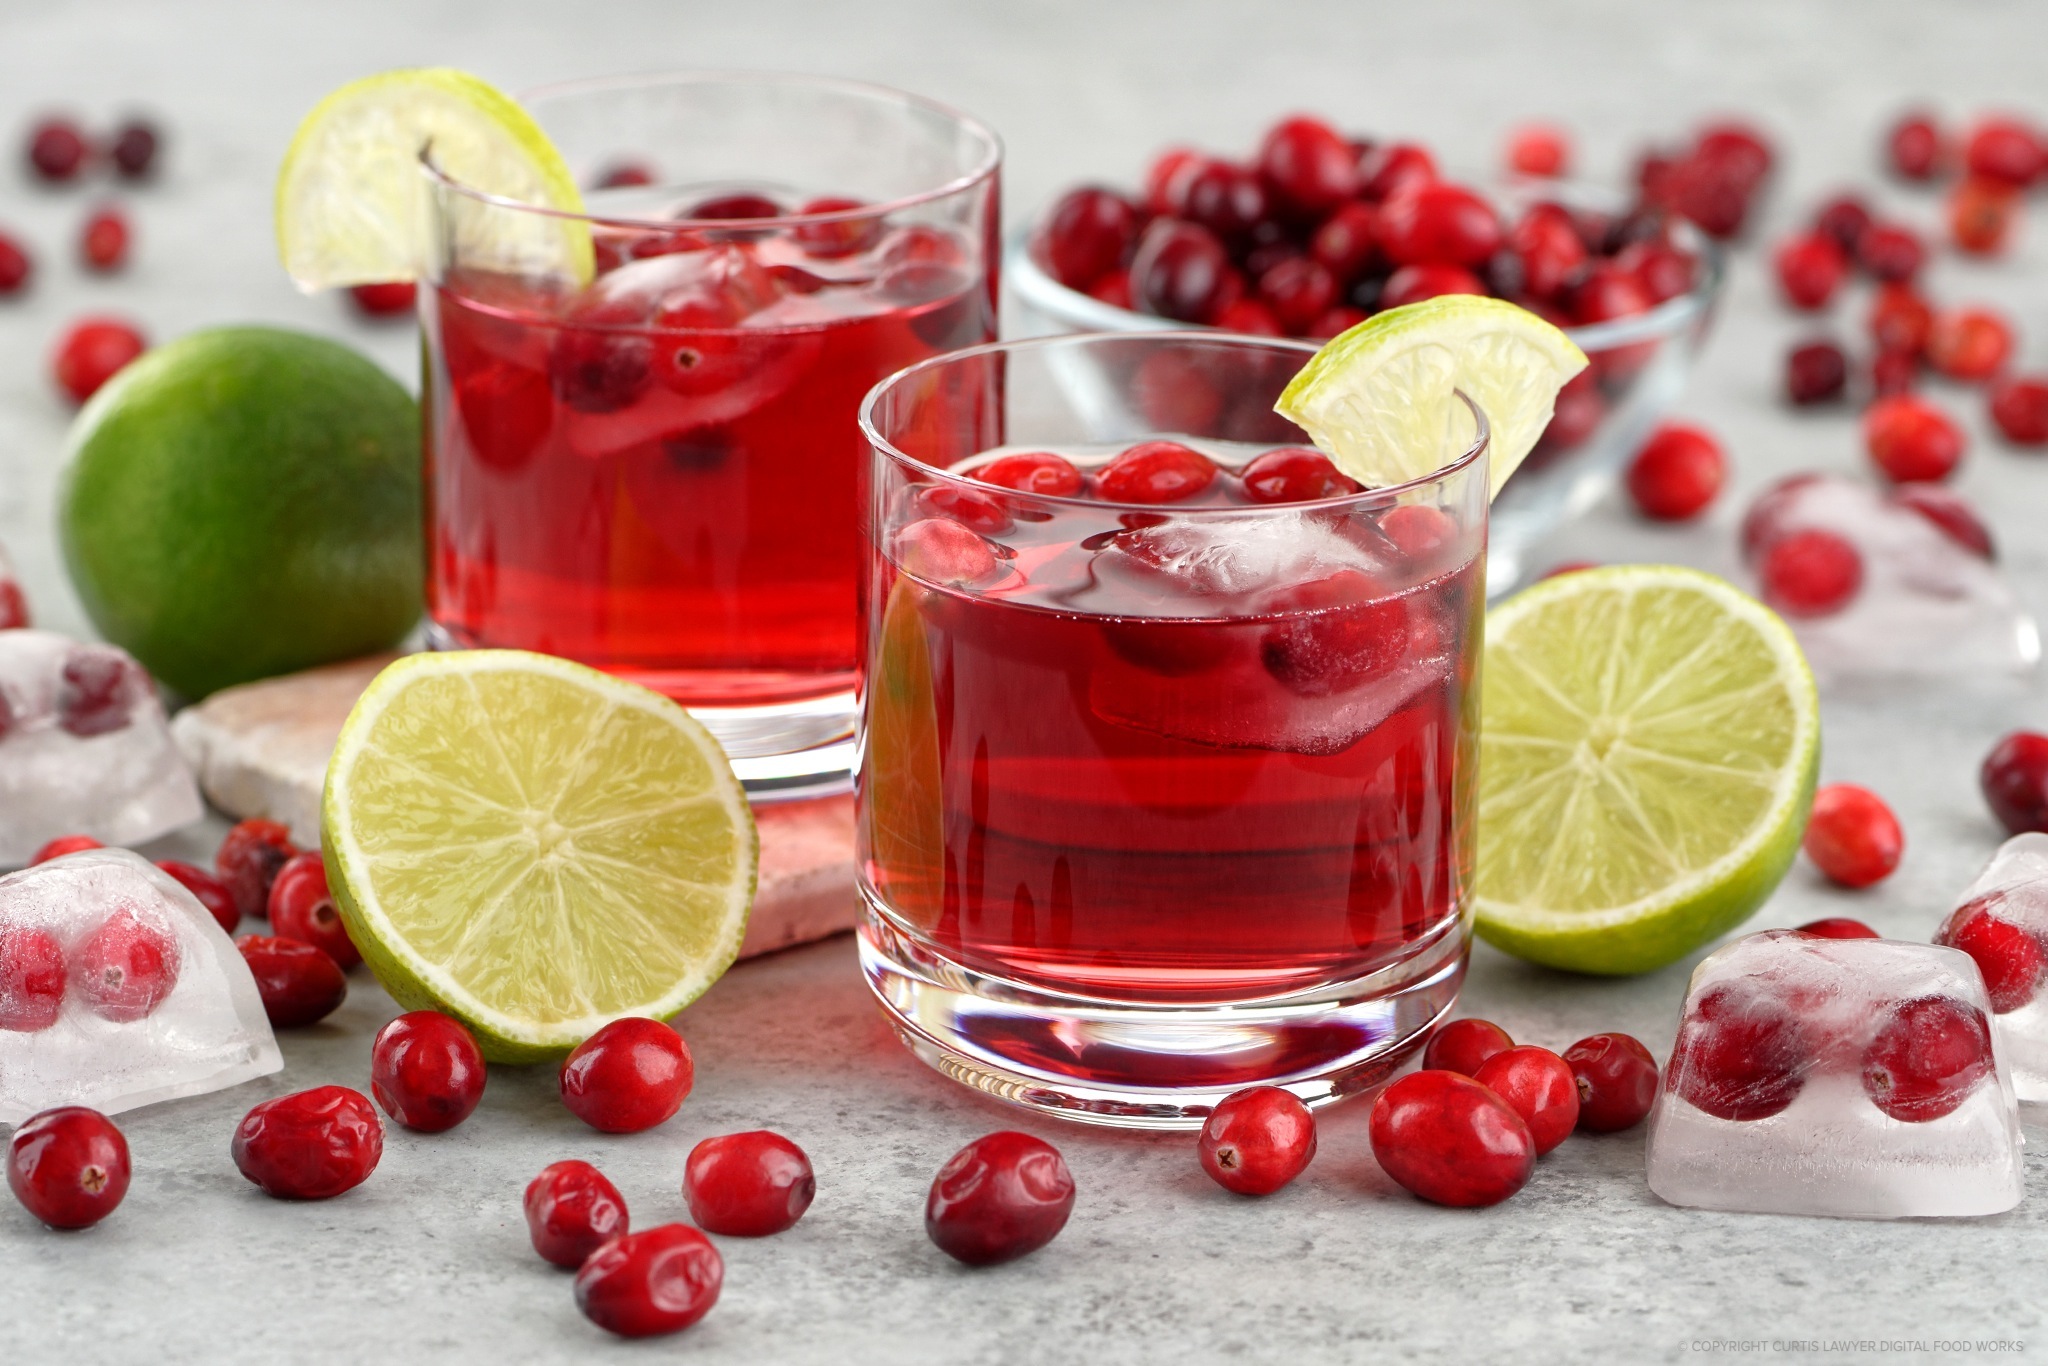
Check out those frozen ice cubes in this Cranberry Lime Whisky Sour photo! Getting cranberries stuck in the middle of an ice cube is not an easy thing to do. It's so not easy, I wrote a mini-article on just that subject! There's a link to that article below.
A couple of really great b-roll shots came from the same light setup… the limes by themselves, and a couple of really great macro shots of cranberries trapped inside ice cubes (which I did a mini-article on — CLICK HERE if you would like to see that post)!
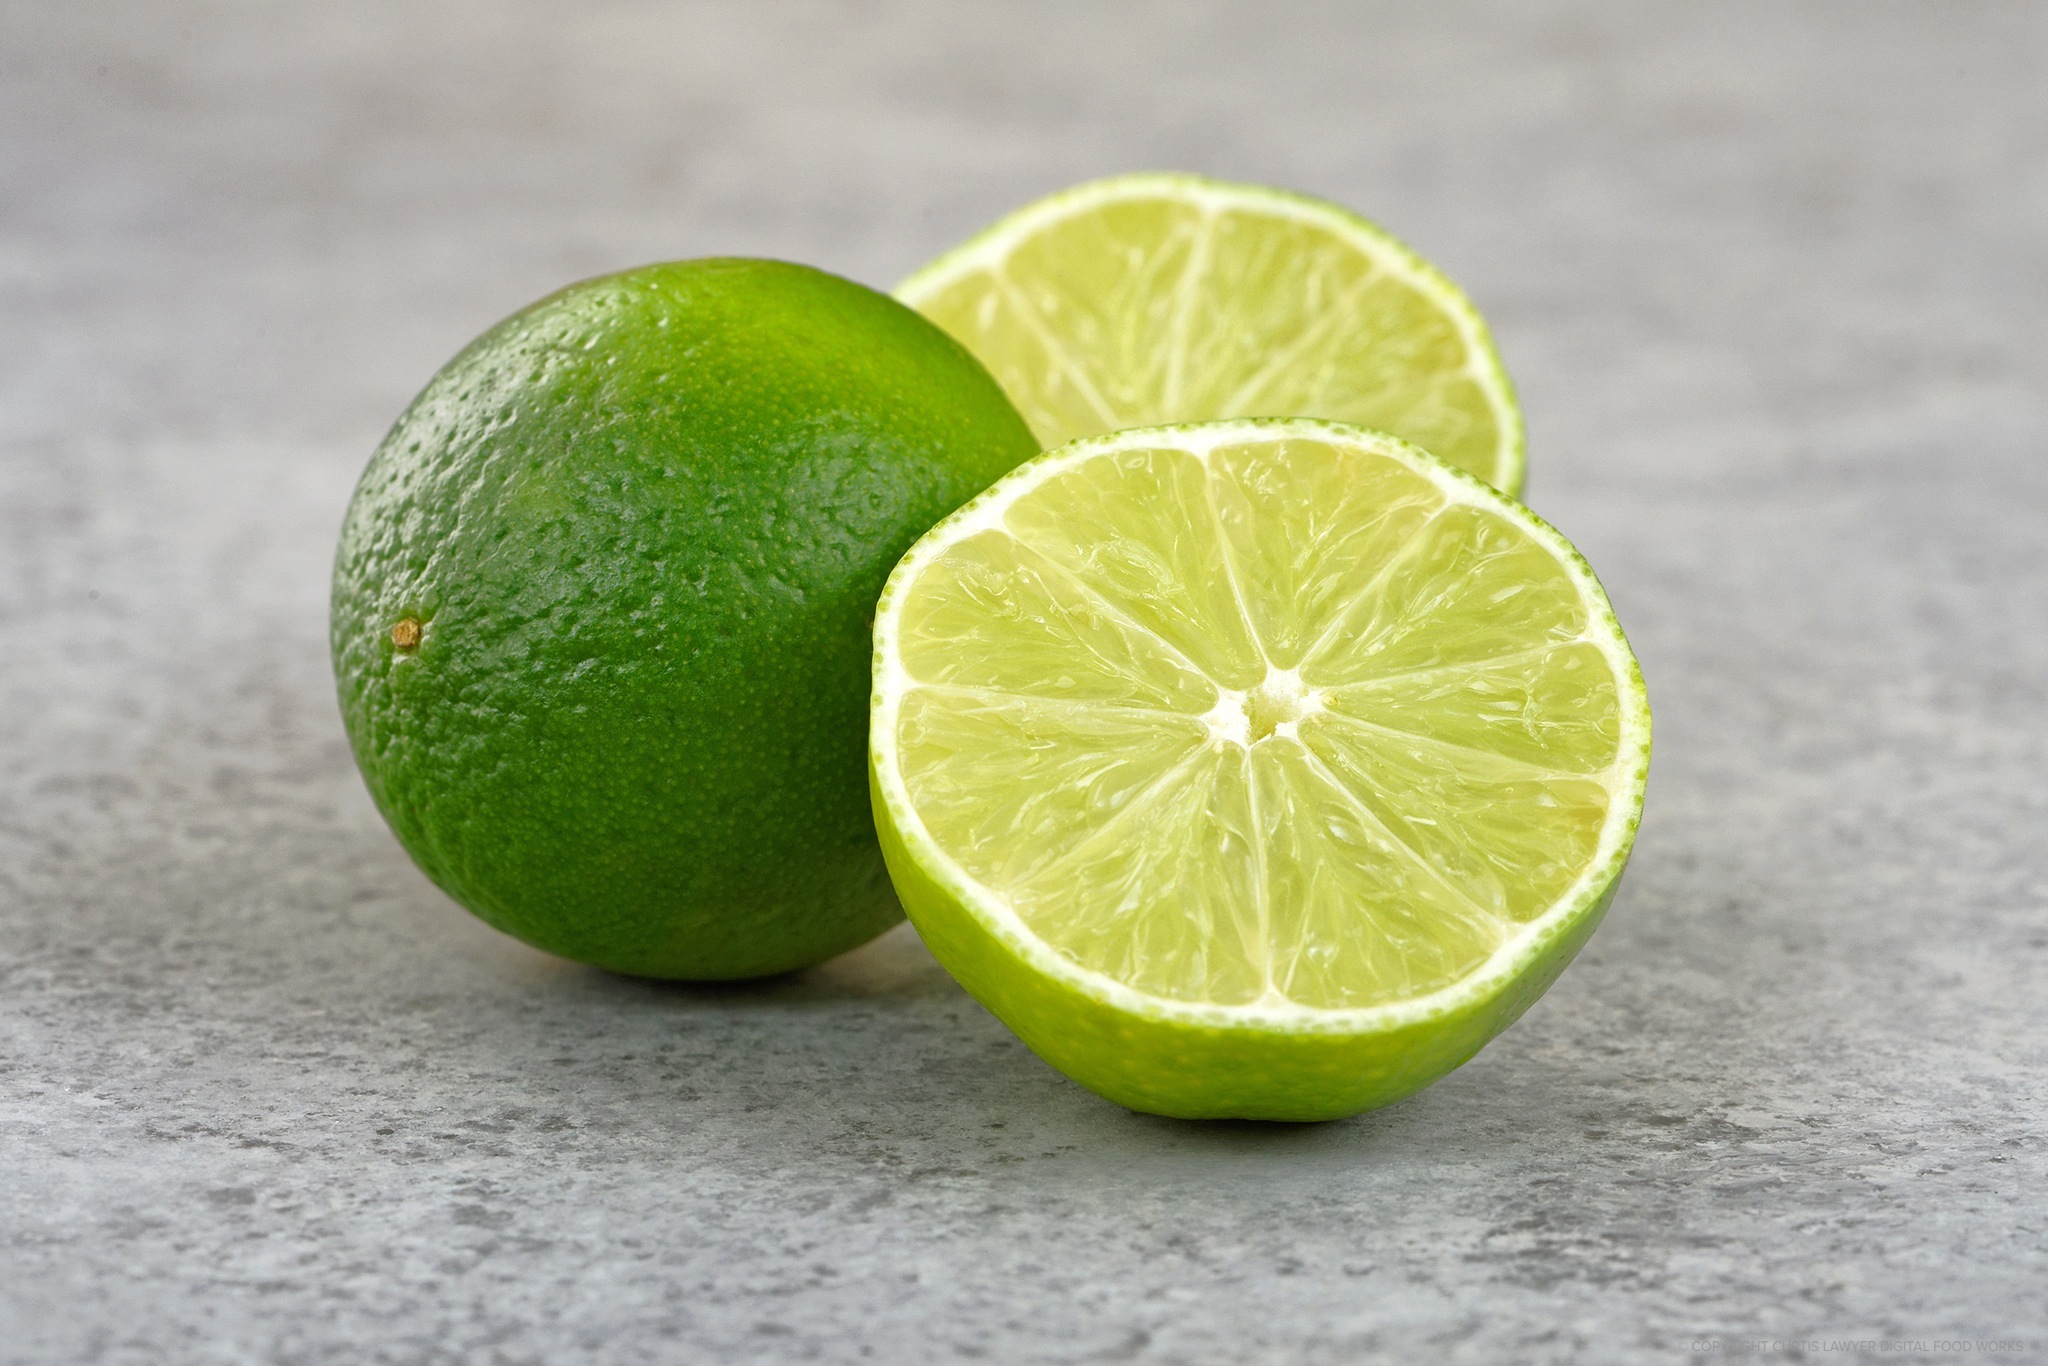
These limes were photographed using the same light set up as the Cranberry Lime Whisky Sour photo!
Thanks again to everyone for following along here and on Instagram and Facebook! This series of "small glass beverage" photos has been so much fun to set up and shoot. Stay tuned to see what's next!!!